You’re on call. An alert fires—your Redis master node is unreachable. Your heart rate quickens. You’ve set up Redis Sentinel for high availability, but is it working? Did the failover succeed? Or worse, are you now in a Redis cluster split-brain situation where two nodes think they’re the master, leading to data inconsistency and eventual loss? In these critical moments, blindly trusting the automation isn’t enough; you need to verify what’s happening.
While Redis Sentinel is a robust high-availability solution for non-clustered Redis deployments, misconfigurations can lead to failover loops or network partition issues. Understanding the failover process and knowing how to interpret Sentinel logs is essential for any developer or SRE managing a critical Redis setup. This guide will walk you through detecting these problems, configuring Sentinel correctly, and using modern monitoring to prevent them altogether.
How Redis Sentinel Manages High Availability
Redis Sentinel is a distributed system that manages Redis instances to provide high availability. It’s crucial to understand that Sentinel is designed for master-replica setups, not for the sharded Redis Cluster topology. Each Sentinel process performs several key tasks:
- Monitoring: It continuously pings your master and replica nodes to ensure they are alive and responsive.
- Notification: If something goes wrong, it can notify administrators or other programs.
- Automatic Failover: If a master node goes down, Sentinels will agree to promote one of its replicas to become the new master.
- Configuration Provider: It acts as a single source of truth for clients, providing the address of the current master.
For a robust deployment, you should always run at least three Sentinel instances on independent machines or availability zones. This prevents the HA system itself from being a single point of failure and ensures it can achieve a majority vote to authorize a failover.
A typical resilient setup looks like this:
Generated code +—-+ | M1 | (Master) | S1 | (Sentinel 1) +—-+ | IGNORE_WHEN_COPYING_START content_copy download Use code with caution. IGNORE_WHEN_COPYING_END
+—-+ | +—-+ | R2 |—-+—-| R3 | (Replicas) | S2 | | S3 | (Sentinels 2 & 3) +—-+ +—-+
Generated code In this configuration, if the box containing M1 fails, S2 and S3 can agree on the failure, elect a leader, and promote either R2 or R3 to be the new master.
Understanding the Failover States
To diagnose issues, you first need to understand how Sentinel perceives failures. It uses two main states:
- SDOWN (Subjectively Down): A single Sentinel instance has lost contact with a Redis node for longer than the configured
down-after-millisecondsperiod. This is a local, unconfirmed opinion. - ODOWN (Objectively Down): When a sufficient number of Sentinels (the configured
quorum) agree that a master is in theSDOWNstate, they promote the state toODOWN. This is the trigger for the failover process.
Once a master is ODOWN, the Sentinels will begin an election to choose a leader. Only the leader is allowed to perform the failover, and it must be authorized by a majority of the total Sentinel processes. This prevents a “failover in the minority partition,” a key cause of split-brain.
The Split-Brain Scenario and How to Prevent It
A split-brain occurs when a network partition splits your cluster, and two separate nodes end up believing they are the master. This is a dangerous state because clients can write different data to each “master,” and when the partition heals, one set of that data will be permanently lost.
Imagine this scenario: IGNORE_WHEN_COPYING_START content_copy download Use code with caution. IGNORE_WHEN_COPYING_END Generated code +—-+ | M1 | <- Client A (writing data) | S1 | +—-+ | // (Network Partition) // IGNORE_WHEN_COPYING_START content_copy download Use code with caution. IGNORE_WHEN_COPYING_END
+——+ | +—-+ | [M2] |—-+—-| R3 | | S2 | | S3 | +——+ +—-+
Generated code Here, a network partition has isolated the original master (M1) and Sentinel S1. Clients in that partition, like Client A, might continue writing to M1. Meanwhile, S2 and S3, forming a majority, have promoted replica R2 to be the new master. When the partition heals, Sentinel will force M1 to become a replica of the new master (M2), discarding all the writes Client A made.
The Solution: min-replicas-to-write
Thankfully, you can mitigate this specific data-loss scenario. Redis provides configuration directives that instruct a master to stop accepting writes if it can’t replicate them to a minimum number of replicas.
In your redis.conf file for all nodes (masters and replicas), you should set:
IGNORE_WHEN_COPYING_START
content_copy
download
Use code with caution.
IGNORE_WHEN_COPYING_END
min-replicas-to-write 1 min-replicas-max-lag 10
Generated code
min-replicas-to-write 1: The master will only accept writes if it is connected to at least one healthy replica.min-replicas-max-lag 10: “Healthy” means the replica is acknowledging replication traffic within the last 10 seconds.
With this configuration, the old master M1 in our partitioned example would stop accepting writes from Client A after 10 seconds, drastically limiting the window for data loss. This is a critical trade-off: you are choosing consistency over availability in a partitioned state.
Decoding Sentinel Logs for Failover Analysis
When a failover occurs, your primary source of truth is the Sentinel logs. Knowing what to look for can help you quickly diagnose what happened. Here are the key log entries in the order they typically appear during a successful failover:
Subjective Down: A Sentinel flags the master as down.
+sdown master mymaster 127.0.0.1 6379Objective Down: The quorum is met, and all Sentinels agree the master is down.
+odown master mymaster 127.0.0.1 6379 #quorum 2/2Attempting Failover: A Sentinel starts the process and seeks authorization.
+try-failover master mymaster 127.0.0.1 6379Elected Leader: The Sentinel wins the election and is authorized to proceed.
+elected-leader master mymaster 127.0.0.1 6379Select Replica: The leader Sentinel chooses the best replica for promotion. It considers replica priority, replication offset, and run ID.
+selected-slave slave 127.0.0.1:6380 127.0.0.1 6380 @ mymaster 127.0.0.1 6379If you see a
no-good-slavemessage here, it means no suitable replica could be found, and the failover will abort. This can happen if all replicas are down, have high replication lag, or are configured with a priority of 0.Switch Master: This is the most important log entry. It confirms the failover was successful and announces the address of the new master.
+switch-master mymaster 127.0.0.1 6379 127.0.0.1 6380This message indicates the master has switched from
127.0.0.1:6379to127.0.0.1:6380.
By monitoring these logs, you can confirm not only that a failover occurred but also which replica was promoted and when.
Common Configuration Pitfalls
A successful Sentinel deployment depends on correct configuration. Here are some common mistakes to avoid:
- Incorrect Quorum: The quorum is the number of Sentinels that must agree on a master’s failure. This number should be set to
(number of Sentinels / 2) + 1. For a 3-Sentinel setup, the quorum should be 2. For 5 Sentinels, it should be 3. Setting it too low risks a failover in a minority partition. parallel-syncs: This setting determines how many replicas are reconfigured to sync with the new master simultaneously after a failover. Setting this to1is the safest option. While slower, it ensures that your replicas become available one by one, preventing a scenario where all your read replicas are unavailable at the same time while they perform their initial sync.- Firewalls and Docker: Sentinel auto-discovers other Sentinels and replicas. Network Address Translation (NAT) or Docker’s port mapping can break this. If you must use NAT, use the
sentinel announce-ip <ip>andsentinel announce-port <port>directives to broadcast the correct, publicly accessible address. For Docker, using host networking (--net=host) is the simplest way to avoid these issues.
Beyond Logs: Proactive Redis Monitoring with Netdata
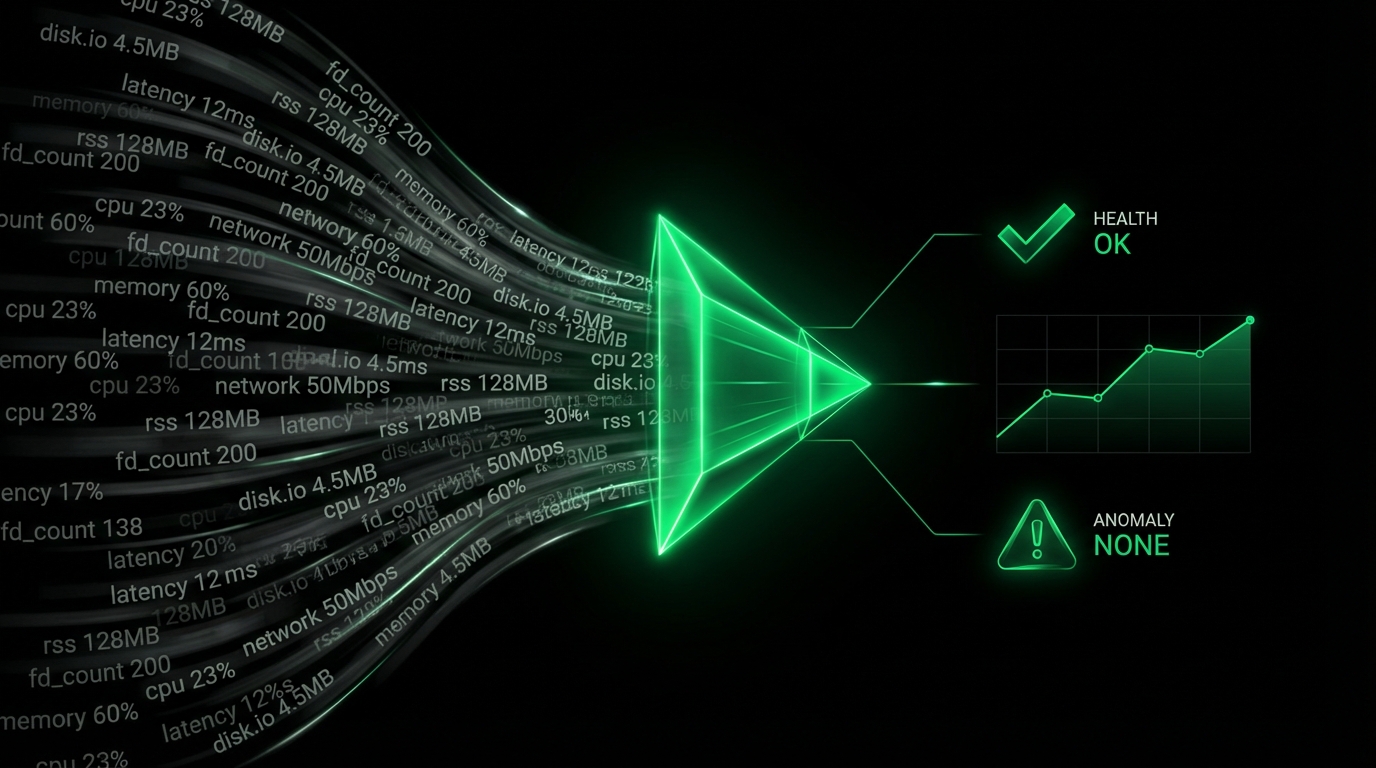
Sifting through logs during an outage is a reactive, high-stress activity. The modern approach is to use a comprehensive monitoring tool that gives you real-time visibility and proactive alerts before a problem becomes a crisis. This is where Netdata excels.
Netdata automatically discovers your Redis and Sentinel instances and provides immediate, granular insight with per-second metrics. Instead of manually checking logs, you get:
- Real-time Dashboards: Visualize key metrics like replication lag, connected clients, memory usage, and commands processed per second. You can instantly see if
min-replicas-max-lagis being breached by watching the replication lag chart spike. - Pre-configured Alerts: Netdata comes with built-in alerts for dozens of Redis health conditions, including
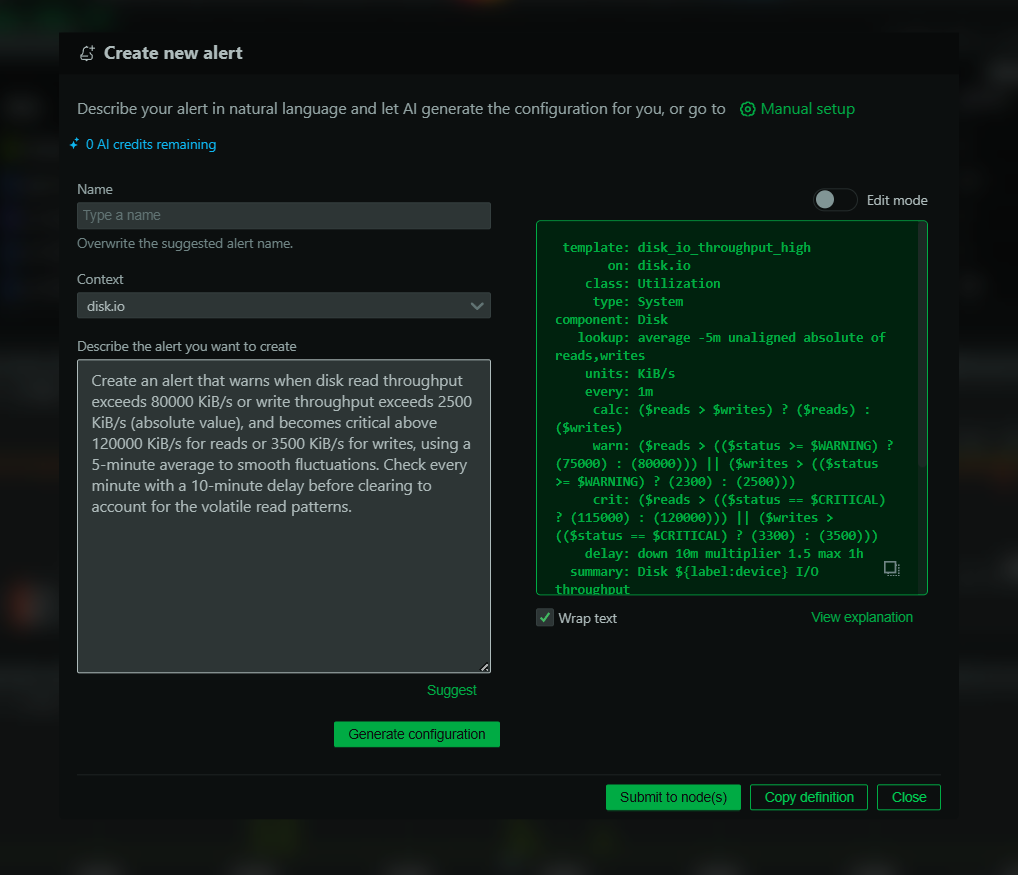
SDOWNandODOWNstates. You’ll be notified the moment a Sentinel detects a failure, often before the failover process even completes. - Centralized View: See the health of all your Redis nodes, replicas, and Sentinels in one place. No more SSHing into multiple boxes to check logs. You can correlate events across your entire infrastructure to find the root cause of a failure faster.
By using Netdata, you transform Redis monitoring from a reactive forensic exercise into a proactive, preventative discipline. You can spot rising Redis replication lag or unstable network connections long before they cause a failover.
While understanding Sentinel’s inner workings and logs is crucial for any SRE, relying on them as your primary diagnostic tool is inefficient. A robust monitoring solution gives you the clarity to act decisively and the foresight to prevent issues from happening in the first place.
Ready to gain instant visibility into your Redis deployments? Sign up for Netdata Cloud for free and see how effortless proactive monitoring can be.

